Table of Contents
Toggle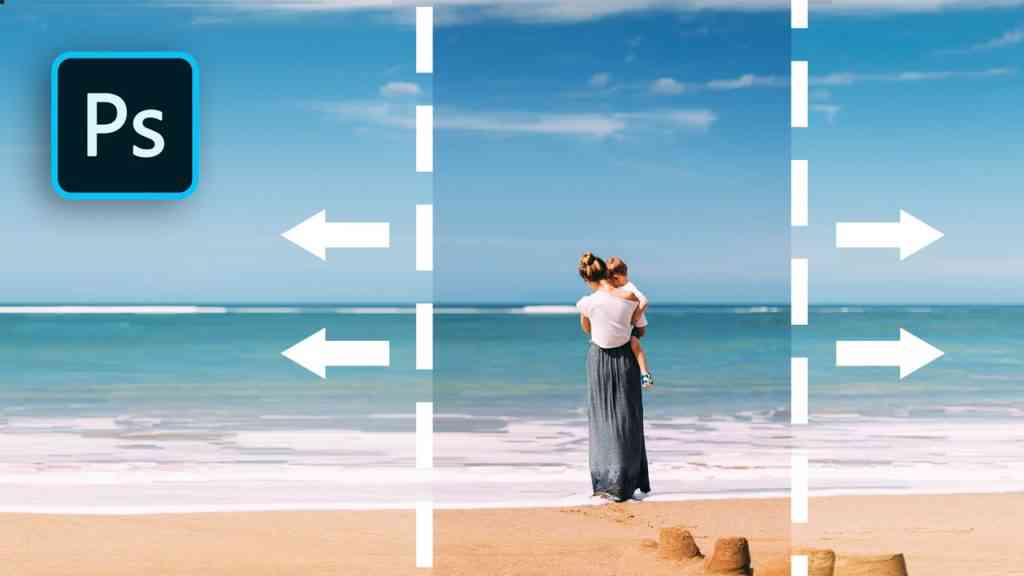
Have you ever taken a photo, and then later, when you pull it up in Photoshop, you wished you had framed just a little bit more of the sky, grass, or background in your image
In this example, I am going to extend the right side of my original portrait image in Photoshop
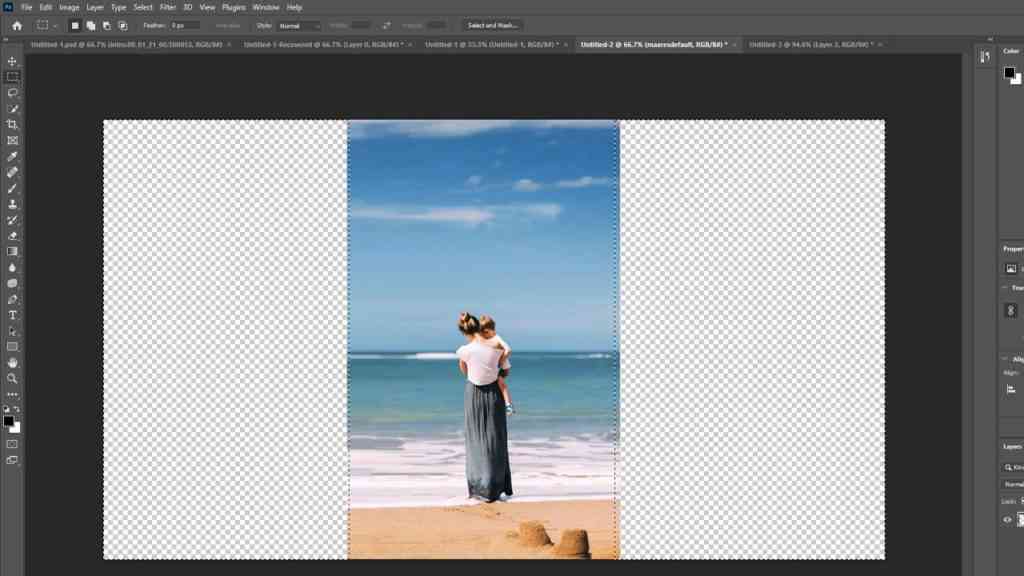
Select the Magic Wand Tool from the Photoshop toolbar on the left and right side (hold SHIFT) of your screen. Then, click on the newly added area of your image to select it.
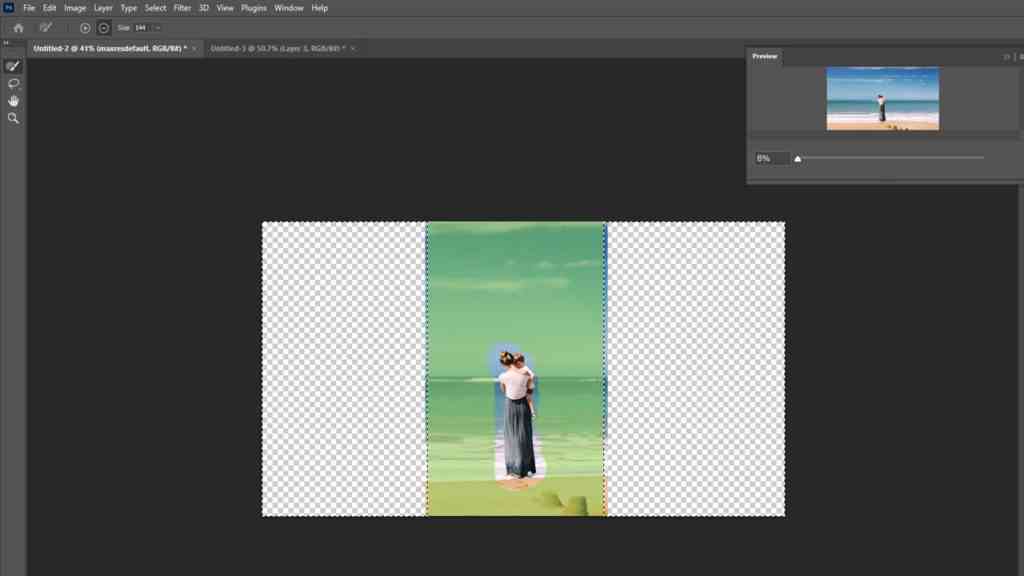
Go to Edit>Content-Aware Scale. A Dialogue box will pop up when you do this. Make sure the “Use” option is set to Content-Aware Scale, then click OK.
Keep in mind that the Photoshop Content Aware Tool will pull background from the closest areas you want to extend. This easy technique works wonderfully when you want to extend parts of your image that have a consistent pattern or background. You should also keep in mind that it may not work well in every situation. For example, if I tried to extend the left side of this image, I would not have enough good background area to work with using this technique because my subject is already so close to the left edge.