Table of Contents
Toggle무료 다운로드 benj ™ | 프리셋 번들
파일은 구매시 이메일을 통해 전송됩니다. // (xmp, lrtemplate, dng, pdf)
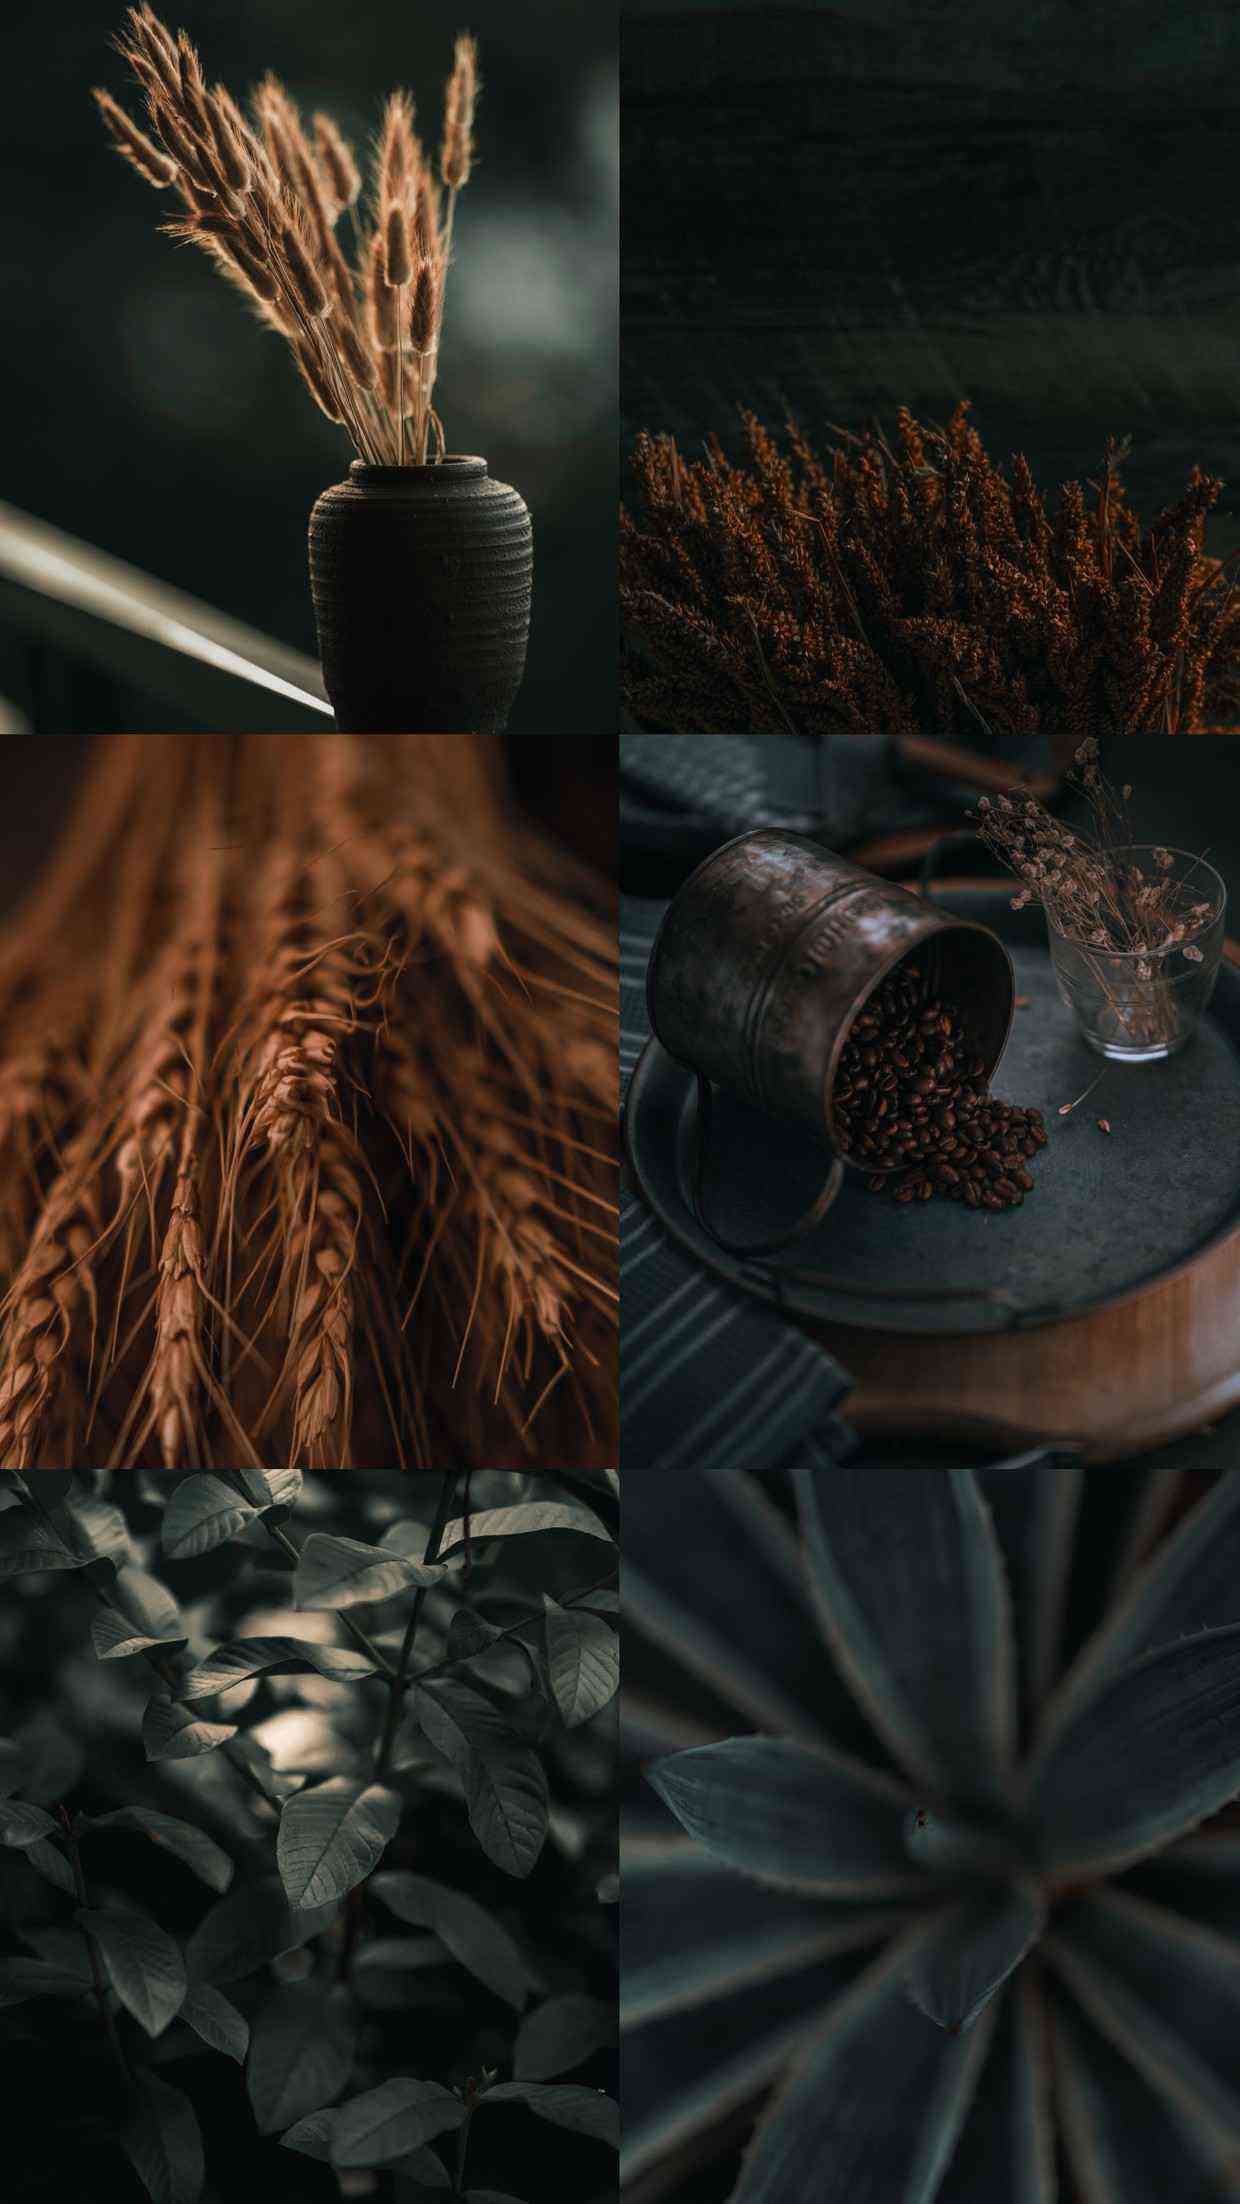
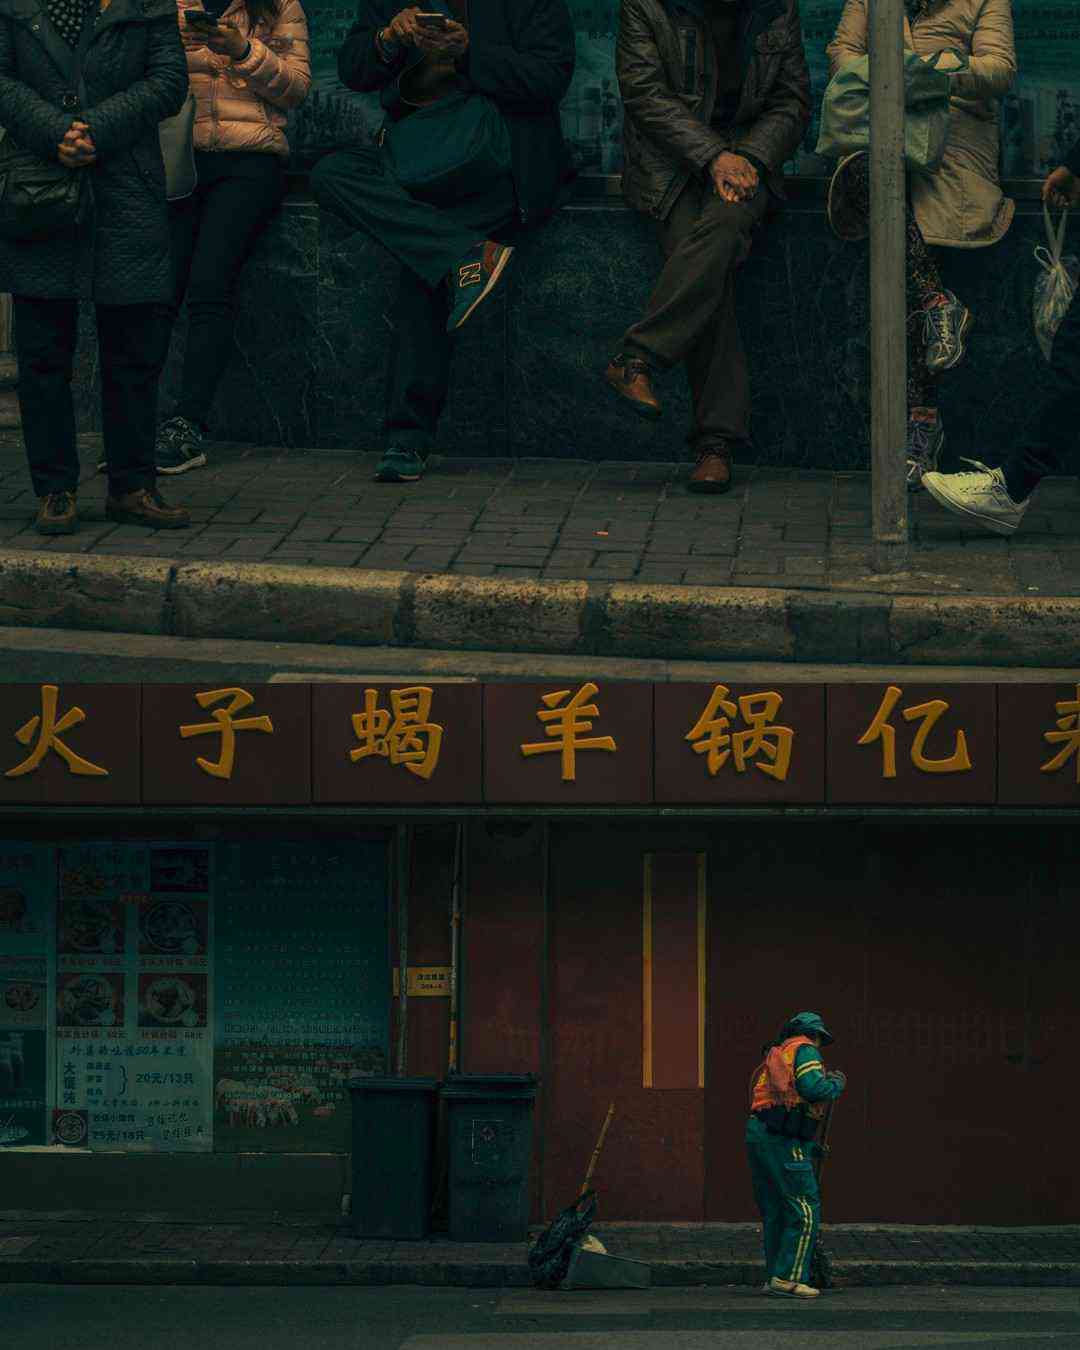
이것이 제가 여러분에게 공유하고있는 제 시그니처 스타일입니다. 즐기시기 바랍니다 🙂
28 프리셋
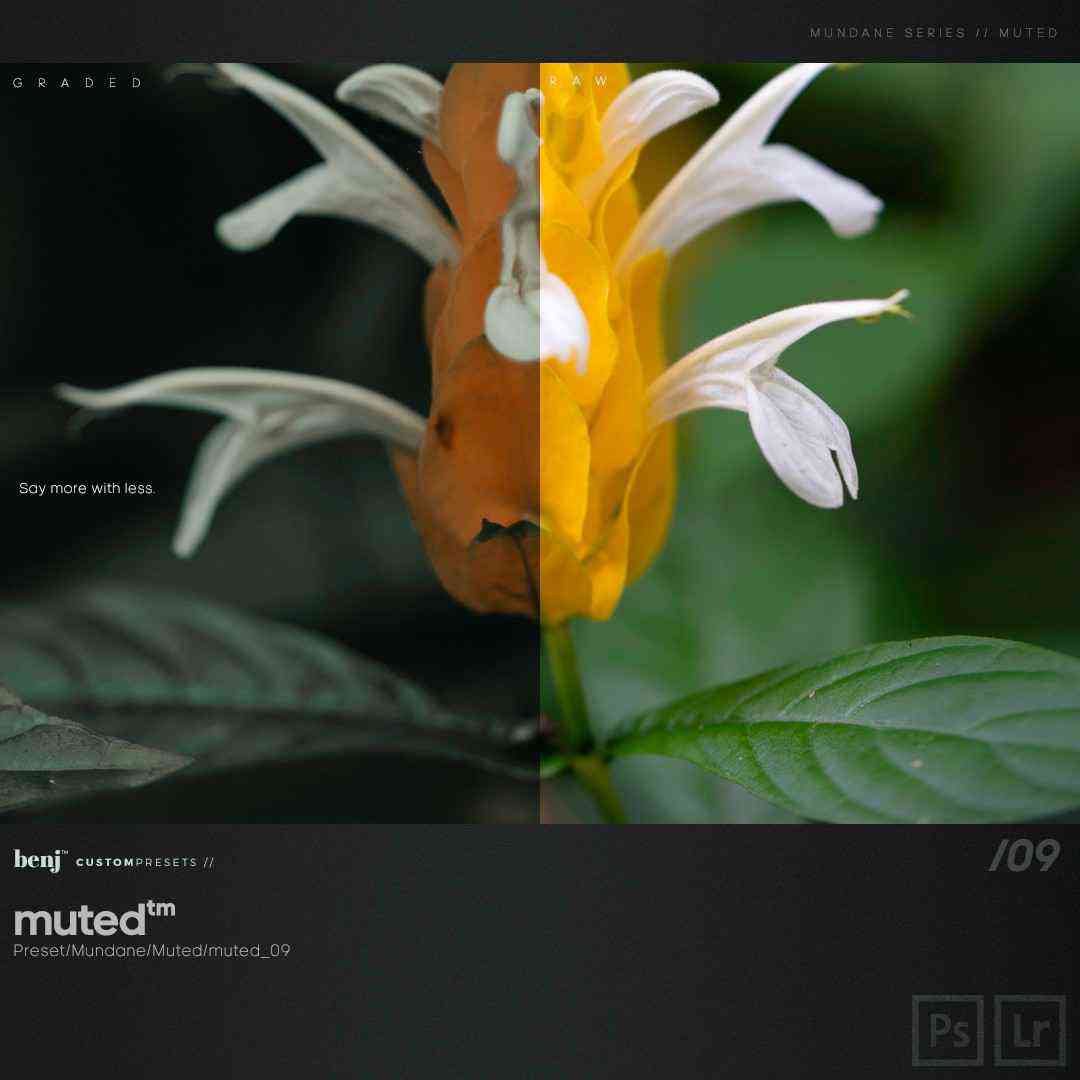
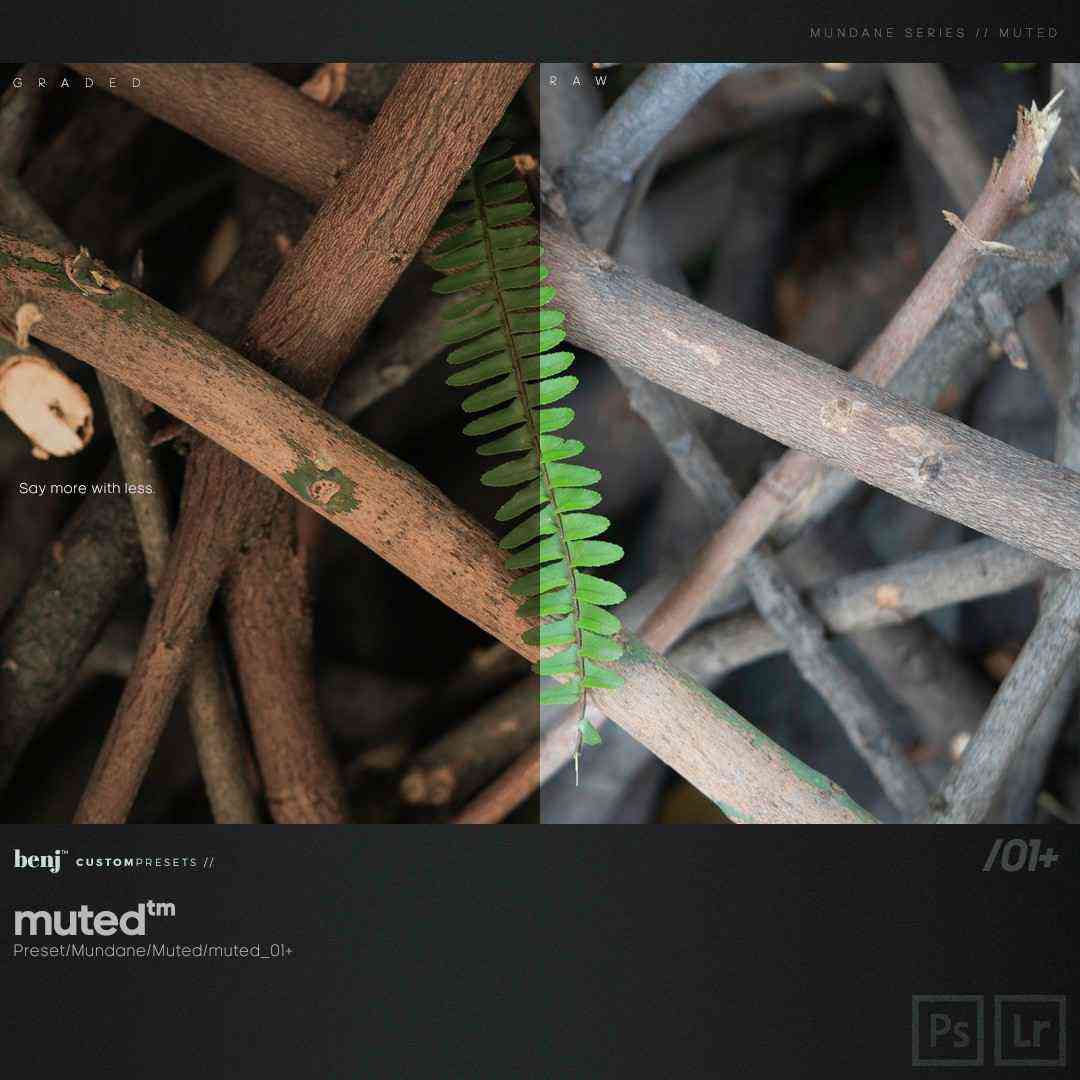
(11) muted ™ 사전 설정 (Mundane 시리즈)
1. 01_muted.xmp
2. 01 + _muted.xmp
3. 02_muted.xmp
4. 02_CoolTemp.xmp
5. 03_muted.xmp
6. 04_muted.xmp
7. 05_muted.xmp
8. 06_muted.xmp
9. 07_muted.xmp
10. 08_muted.xmp
11. 09_muted.xmp
(5) CINEMAPACK / 확장 (Cinematic Presets 시리즈)
1. 09_DeepCinema.xmp
2 09_DeepCinema_Light.xmp
3. 10_Indigo.xmp
4. 10_Indigo_Light.xmp
5. 11_Bronze_Cine.xmp
6. 11_Bronze_Cine_Light.xmp
7. 12_CineMatte.xmp
8. 12_CineMatte_Light.xmp
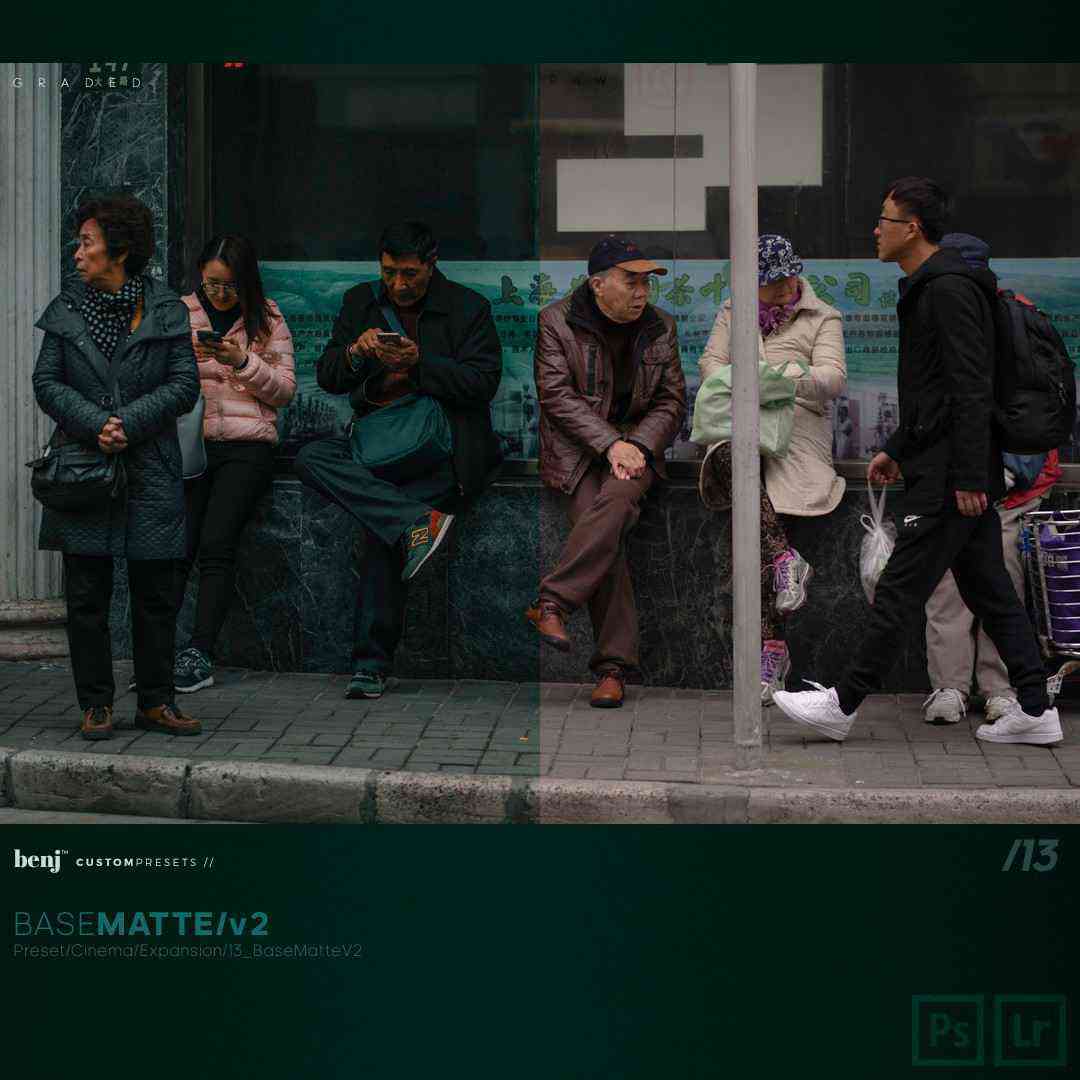
9. 13_BaseMatte_v2.xmp
(4) benj ™ CURVES
1. benj ™ _Curves_Polish.xmp
2. benj ™ _Curves_Polish_Cool.xmp
3. benj ™ _Curves_Flat.xmp
4. benj ™ _Curves_Flat_Cool.xmp
(1) PDF 파일
보너스
(4) 작업 프리셋
1. 작업 프리셋 1
2. 작업 프리셋 2
3. 작업 프리셋 3
4. 작업 사전 설정 4
* CINEMA PRELUDE 사전 설정은이 번들에 포함되어 있지 않습니다.

1. Make sure Effects & Presets panel is visible. If it’s not,
go to Window > Effects & Presets and click on it so a check mark appears.
2. In the Effects & Presets panel search for the term “LUT?
3. Drag and drop Apply Color LUT option onto your footage
4. In the dialog box select the LUT you’d like to apply
5. You’ve successfully applied a LUT to your footage
CAMERA RAW PRESETS INSTALLATION INSTRUCTIONS
For MAC & PC
To install ACR presets in Photoshop, please download and unzip the presets you purchased from us and place them in the following location:
• Mac(user)/Library/Application Support/Adobe/Camera Raw /Settings
• Win(user)/Application Data/Adobe/Camera Raw/Settings
or
C:Users-[user name]/AppData/Roaming/Adobe/CameraRaw/Settings
Make sure you only copy the preset files (.xmp) into the ‘settings’ folder, specified above, as folders are not supported in Camera Raw.
If you are on a Mac, the Library menu may be hidden, depending on your operating system.
To reveal it, hold the Option key down while selecting the “Go” menu in the Finder.
If you’re still having troubles finding the ‘Settings’ folder, you can also save a file within ACR and search for it on your computer.
When found make a shortcut to the ‘Settings’ folder either in your sidebar or as a desktop shortcut for easy access.
How to Install 3D Luts in Photoshop
Mac
1. Extract the LUTs from the downloadable .zip file.
2. Select the 3D LUTs you’d like to copy. Make sure you’re copying the 3D LUTs only and not the folder they’re in.
3. Copy the 3D LUTs in the following location: Applications > Adobe Photoshop CS/CC > Presets > 3DLUTs
Windows
1. Extract the LUTs from the downloadable .zip file.
2. Select the 3D LUTs you’d like to copy. Make sure you’re copying the 3D LUTs only and not the folder they’re in.
3. Copy the 3D LUTs in the following location: C: > Program Files > Adobe > Adobe Photoshop CS6/CC (64 Bit) > Presets > 3DLUTs
HOW TO INSTALL LIGHTROOM 4 & 5 PRESETS FOR WINDOWS
Open Lightroom
Go To: Edit • Preferences • Presets
Click On The Box Titled: Show Lightroom Presets Folder
Double Click on Lightroom
Double Click on Develop Presets
Copy The Folder(s) Of The Fine Art Preset Zip Into Develop Presets
Restart Lightroom
HOW TO INSTALL LIGHTROOM 4 & 5 PRESETS FOR MAC
Open Lightroom
Go To: Lightroom (Dialogue) • Preferences • Presets
Click On The Box Titled: Show Lightroom Presets Folder
Double Click on Lightroom
Double Click on Develop Presets
Copy The Folder(s) Of The Fine Art Preset Zip Into Develop Presets
Restart Lightroom
Tags: add luts to the after effectsadd luts to the fcpxadd luts to the final cut proadd LUTs to the Premiere Proapply luts in after effectsApplying LUTs in Premiere Profree dowload luts travelfree dowload luts weddingfree download luts fashionfree luts downloadFree LUTs for Cinematicinstall luts in after effectsinstall luts in fcpxinstall luts in final cut proinstall luts in premiere prolutsluts free downloaduse luts in fcpxuse luts in final cut pro